Cookbook · 10 min · Oct 14, 2026
Build your own personal agent in 10 minutes
Generic assistants are built for everyone. With the Sai API you can build one that is yours, with your interface and your rules, and a computer use agent that does the work on its own cloud computer. This cookbook follows Simular's live build session, from API key to a working personal agent.
TL;DR: the result
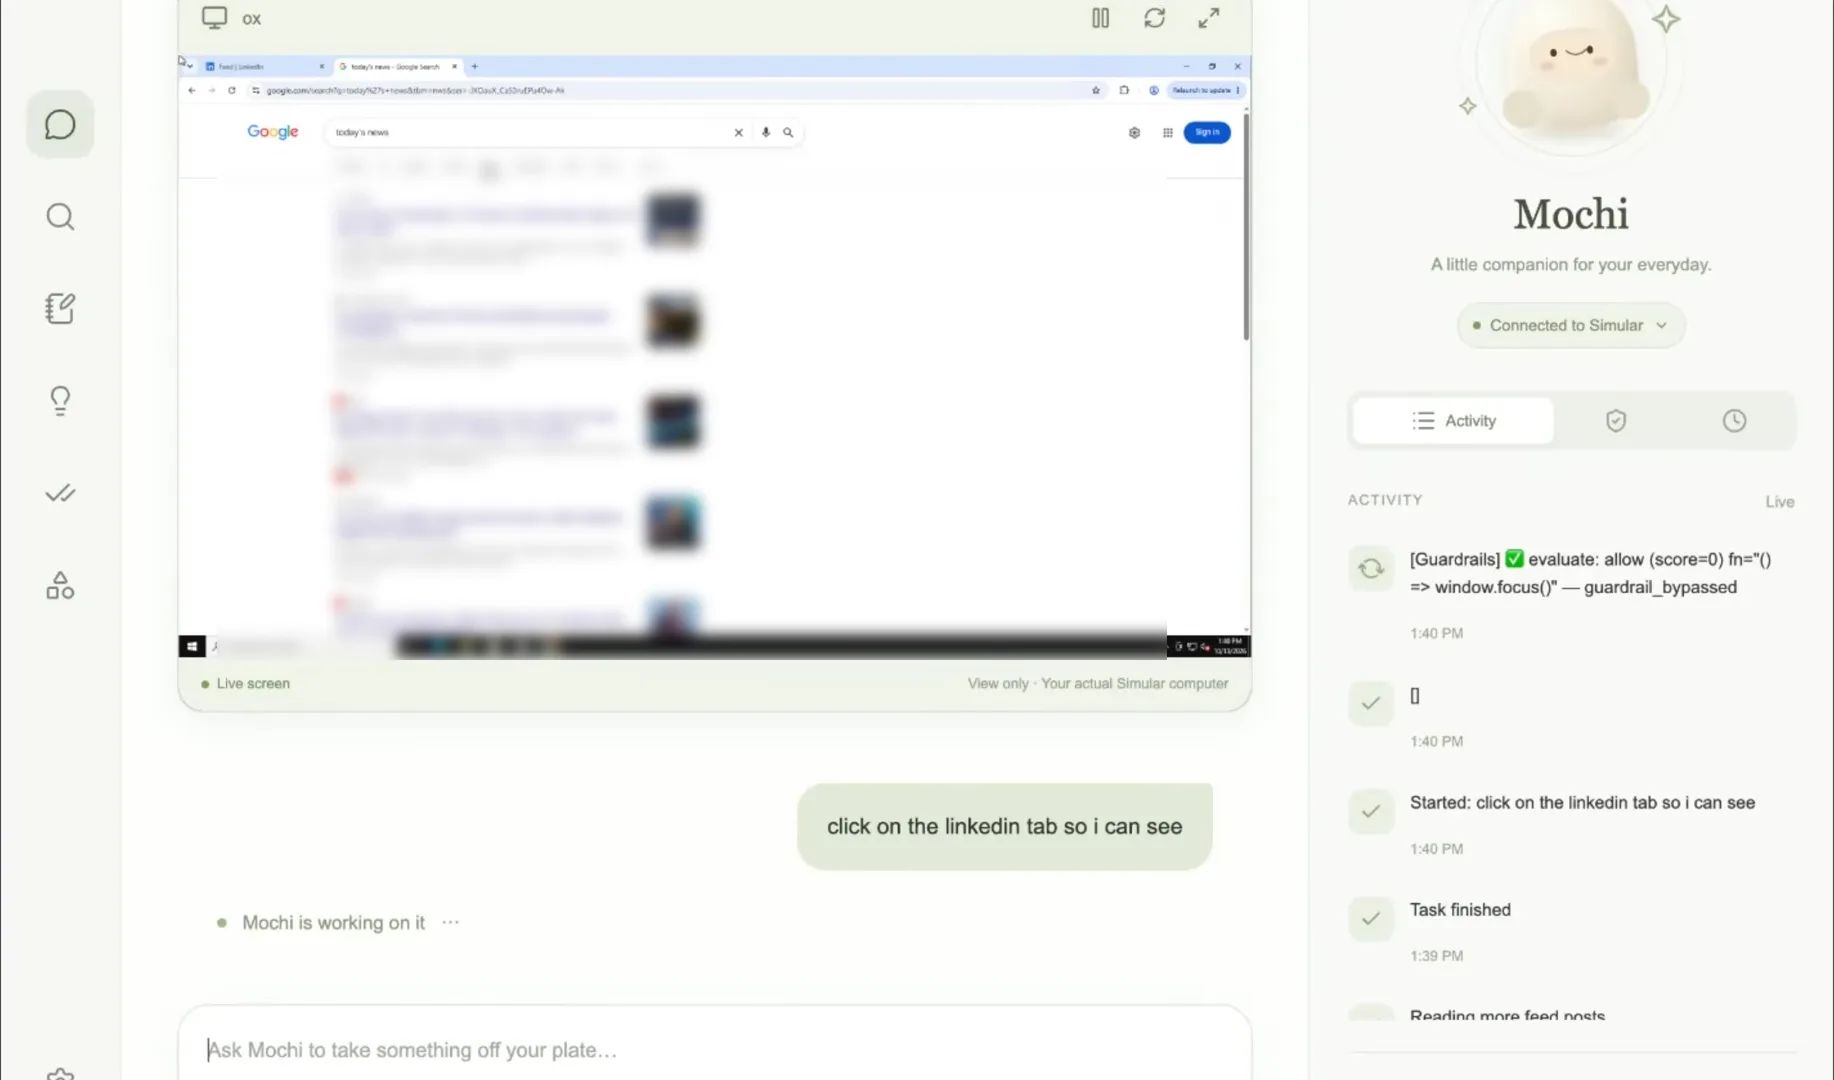
In about ten minutes of build time you get a personal assistant web app, built by your coding agent from one prompt, that:
- Chats with you and hands every task that needs a computer to Sai over the Sai API.
- Works on its own cloud computer, not on your laptop: it opens apps, clicks, types and signs in where you allow it.
- Shows its work: an activity feed of every step and a live, view-only stream of the computer's screen.
- Asks before it acts: commands and choices come to you for approval, and sign-ins go to you as a link.
- Keeps your key safe: the API key stays on your server, never in the browser.
What is a personal agent on the Sai API?
A personal AI agent is an assistant you design yourself: the interface, the memory and the rules are yours, and the work happens on a real computer. The Sai API supplies the hard part. It is a computer use agent that comes with its own cloud computer: your app sends a task in plain English over HTTP, and Sai opens the apps, clicks, types and returns the result.
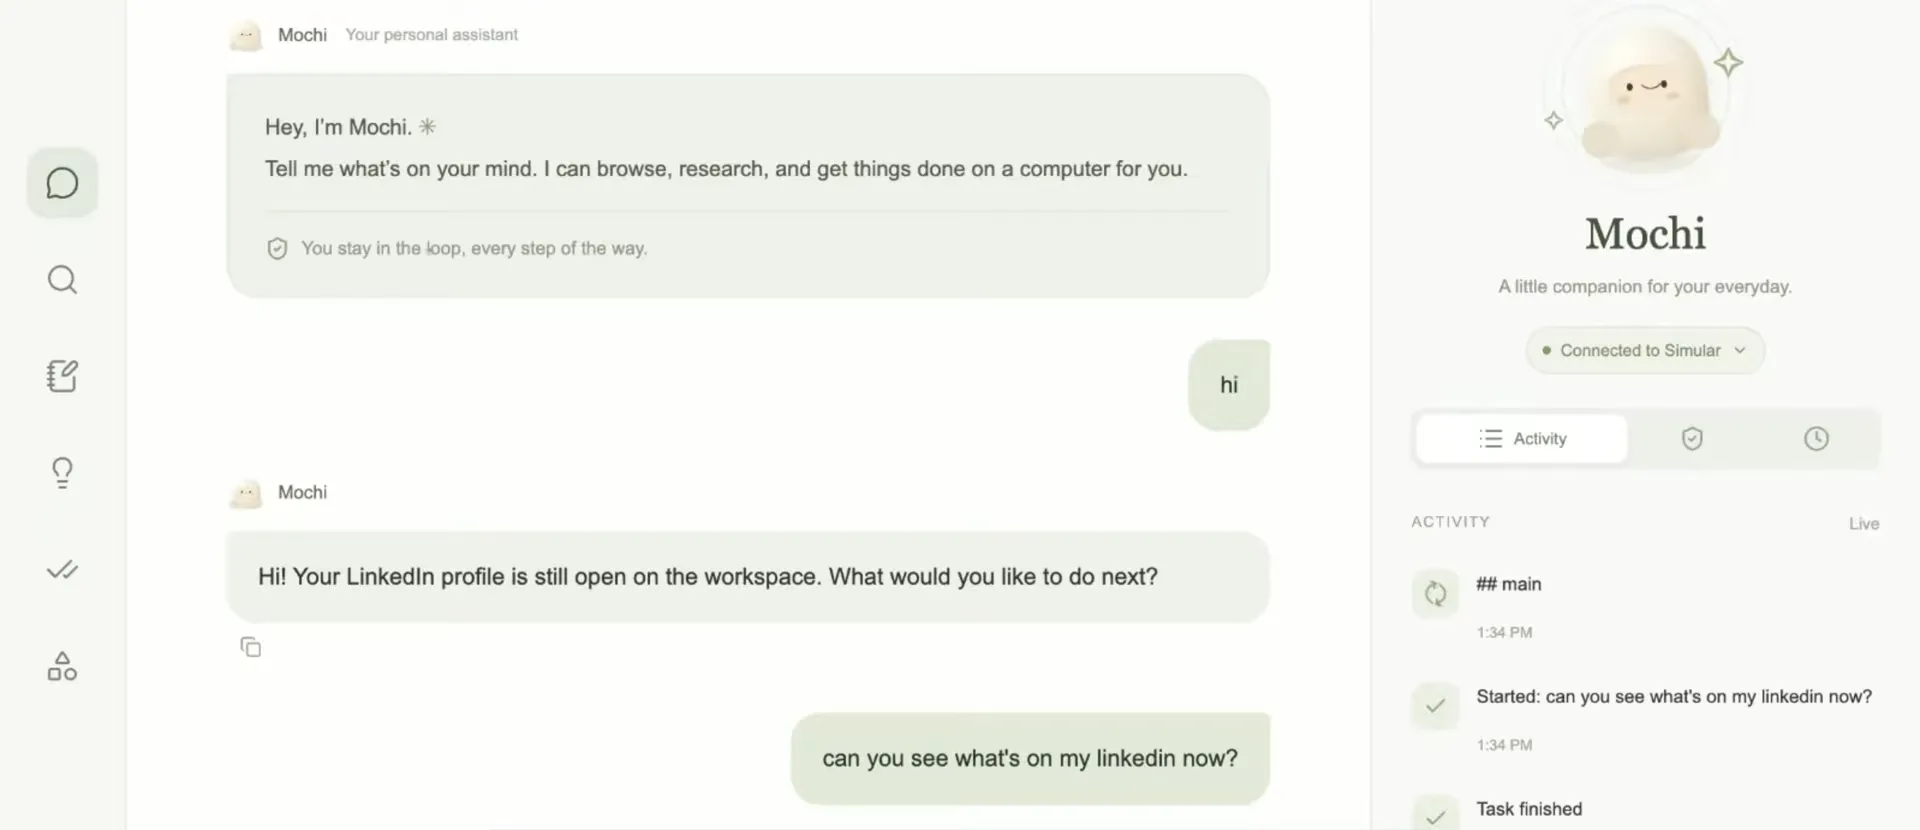
In the build session this cookbook is based on, the Simular team gave Codex a reference screenshot and a one-line prompt, got back a personal assistant app called Mochi, connected it to the Sai API, and watched it read a LinkedIn feed on a cloud computer.
Why build on the Sai API instead of wiring up computer use yourself?
Most of the work in a computer use agent is not the chat window. It is the virtual machine, the screen streaming, the harness that turns model output into clicks, and the cost of re-planning every step on every run. The Sai API puts all of that behind one HTTP call.
What you need before you start
- A Google account and a phone number. You sign in to Simular Platform with Google, and free accounts verify a phone number before their first API key.
- A coding agent. The session used OpenAI Codex, then Claude Code for the finishing touches. Cursor works the same way.
- Node.js 22.12 or newer for the Sai MCP server, which runs through
npx. - A reference for the interface (optional). A screenshot of an assistant you like gives your coding agent a design to follow.
Create your Sai API key
Sign in to Simular Platform
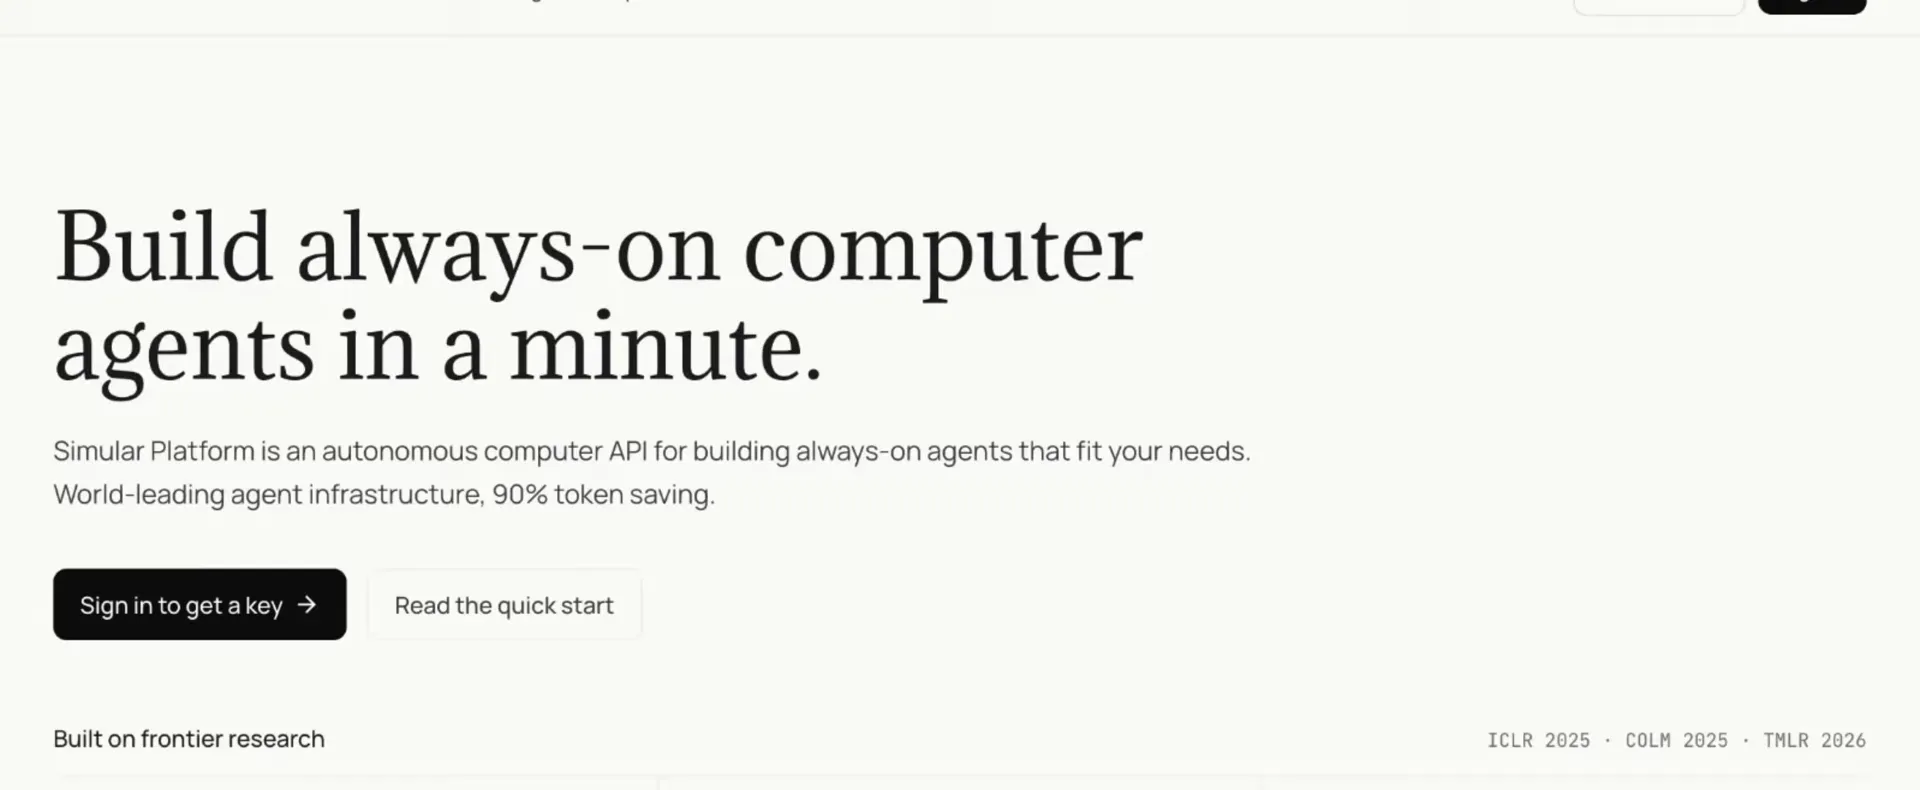
Open platform.simular.ai and choose Sign in to get a key. Sign in with Google. On a free account, the portal asks you to verify a phone number before it lets you create a key.
Open the Get started checklist
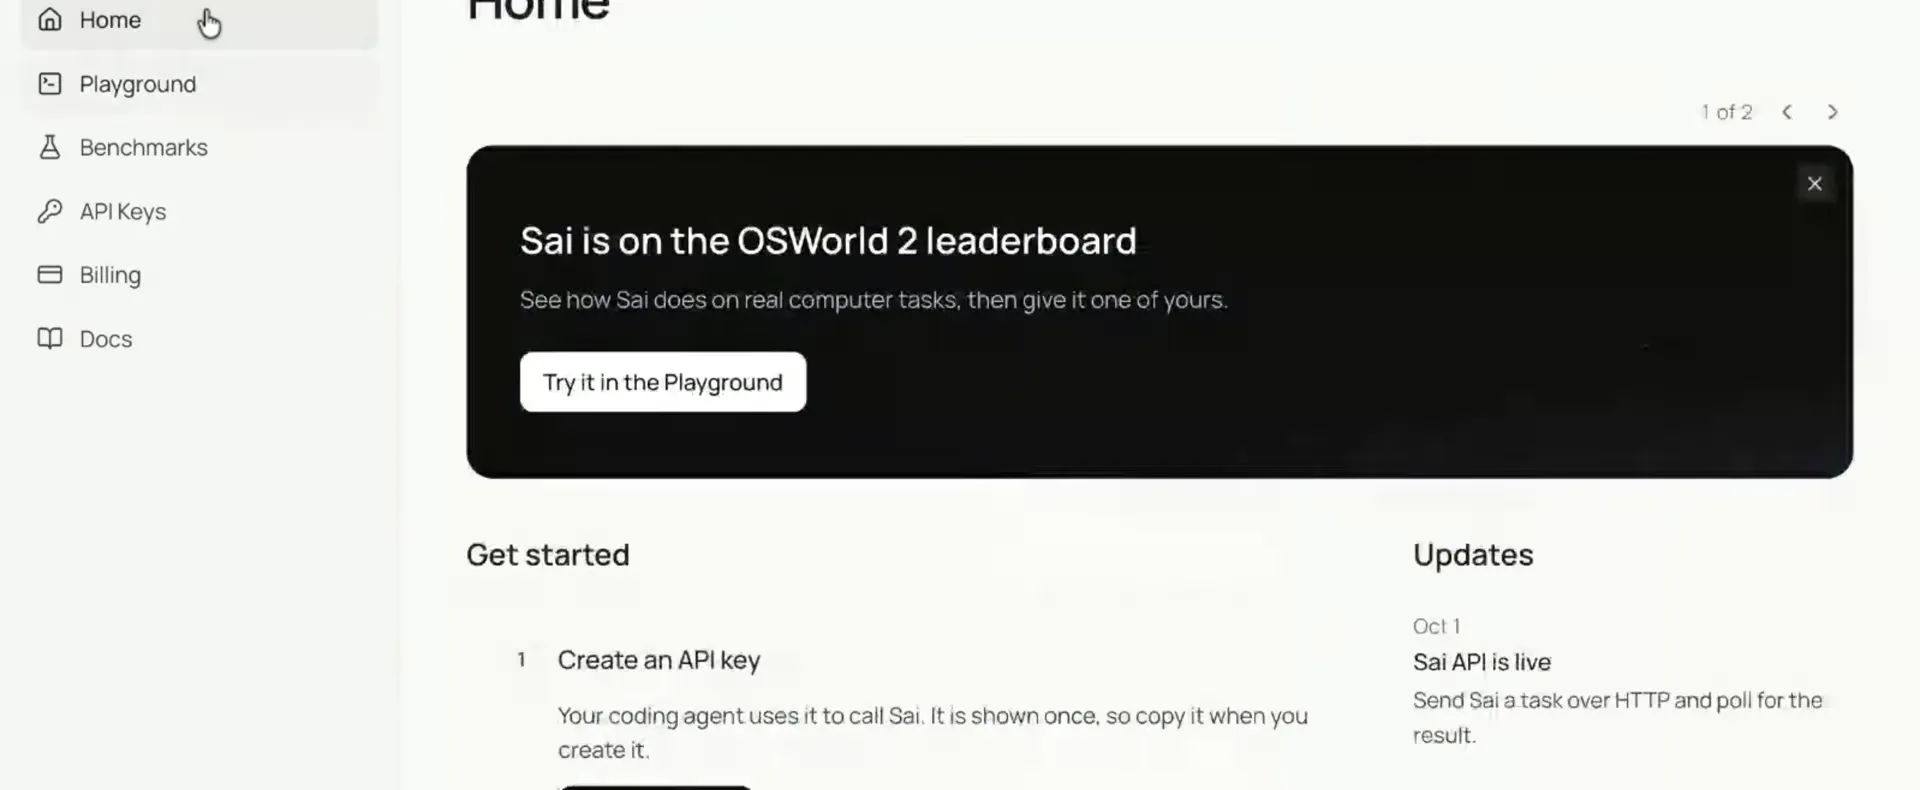
After you sign in you land on Home. The Get started checklist has the three steps this cookbook follows: create an API key, add Sai to your coding agent, and watch it work. Playground in the sidebar lets you send Sai a task by hand and watch the computer while it runs.
Create and copy the key
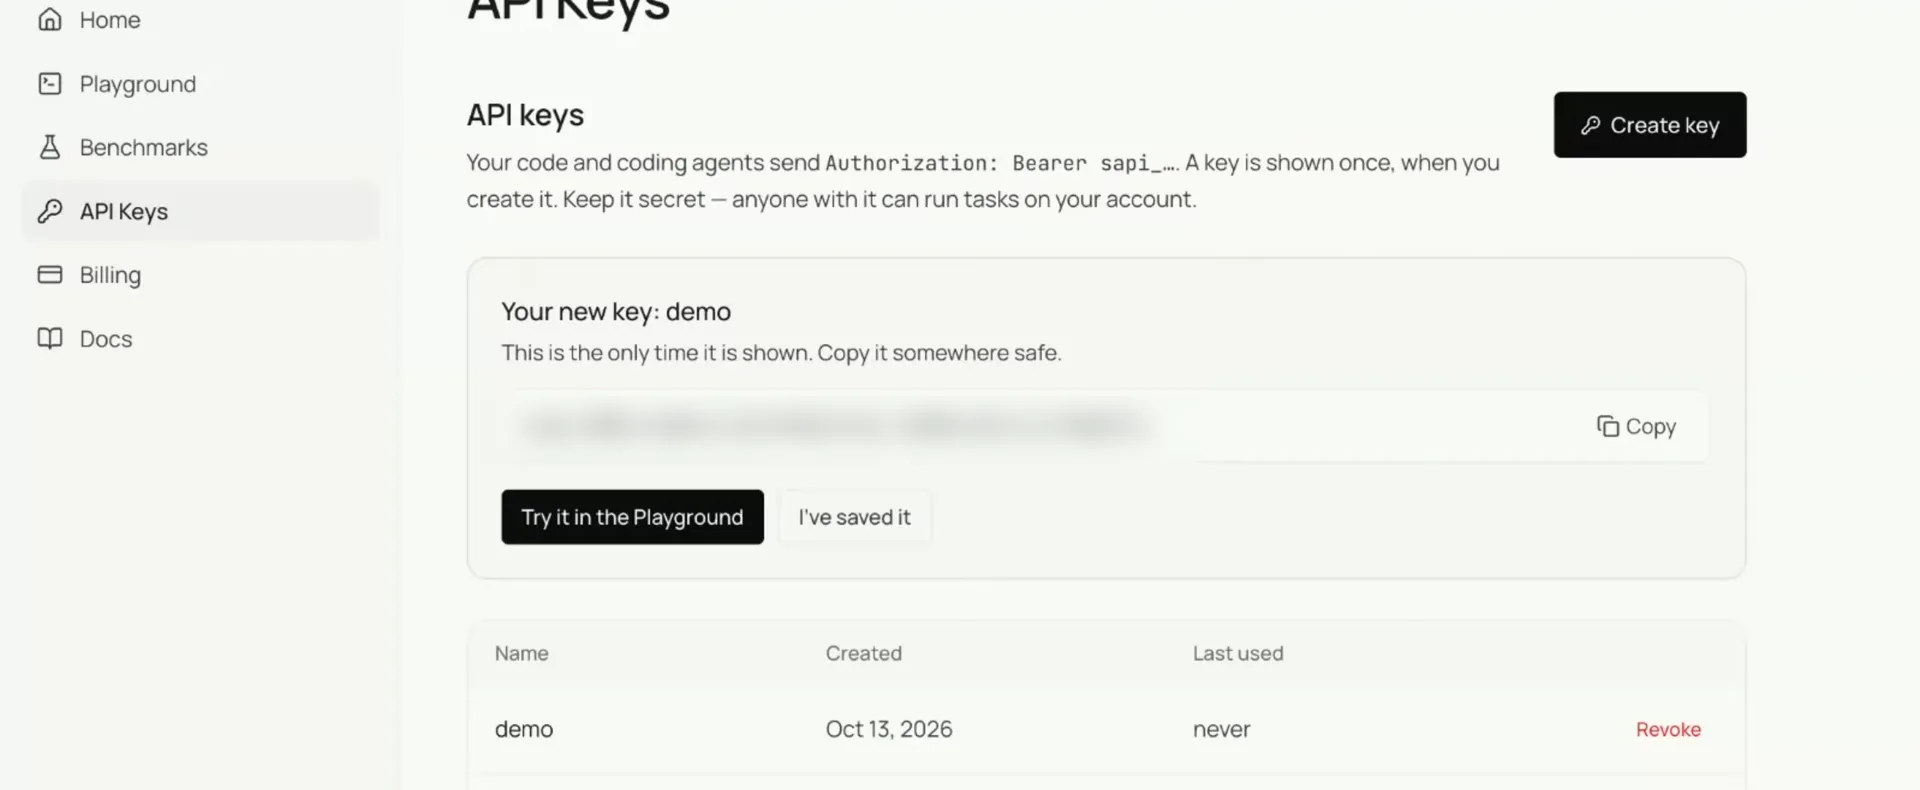
Open API Keys and choose Create key. Give it a name you will recognize later, such as personal-agent, and copy it straight away: keys start with sapi_ and are shown only once. A free account holds one key at a time; a paid account holds up to 20.
export SAI_API_KEY="sapi_..."
export SAI_API_URL="https://api.simular.ai"
Treat the key like a password. Anyone who has it can run tasks on your account, so it belongs in an environment variable on your server, never in front-end code or a committed file.
Send your first task to your cloud computer
Before you build anything, confirm the key works and get to know the loop your agent will run: send a task, poll its events, read the result.
Check your computer
A free account sees one Windows cloud computer, Sai cloud computer (free). With a single computer you can leave machineId out of every request that follows.
curl -s "$SAI_API_URL/v1/agents/machines" \
  -H "Authorization: Bearer $SAI_API_KEY"
Send a task and poll for the result
Send the task with wait: false, then long-poll /events with the sessionId you get back. Pass each response's cursor as since on the next call. When status is idle, text holds Sai's answer.
curl -s "$SAI_API_URL/v1/agents/message" \
  -H "Authorization: Bearer $SAI_API_KEY" \
  -H "Content-Type: application/json" \
-d '{"message": "Open Notepad, type hello, save it to the desktop as hello.txt", "wait": false}'curl -s "$SAI_API_URL/v1/agents/events?sessionId=cs_01HZY&wait=30" \
-H "Authorization: Bearer $SAI_API_KEY"The first request of the day can stay in running for about two minutes while the computer starts. The session is not stuck; keep polling. See the Quickstart for the full loop, including approvals.
Give your coding agent a computer with the Sai MCP server
Sai runs as an MCP server, @simular-ai/sai-mcp. Add it to your coding agent with one command, replacing sapi_YOUR_KEY with your key. Your coding agent can then hand Sai the steps that only exist on screen, and it knows the Sai loop while it builds your app.
Codex
The session used Codex for the first build.
codex mcp add sai --env SAI_API_KEY=sapi_YOUR_KEY -- npx -y @simular-ai/sai-mcp# ~/.codex/config.toml
[mcp_servers.sai]
command = "npx"
args = ["-y", "@simular-ai/sai-mcp"]
# sai_task_wait holds for up to 110 s; Codex's default tool timeout is 60 s.
tool_timeout_sec = 120
[mcp_servers.sai.env]
SAI_API_KEY = "sapi_YOUR_KEY"Set tool_timeout_sec = 120 so long waits do not time out, and keep the key in your per-user config. A project-level .codex/config.toml is often committed to the repository. More in Codex.
Claude Code
Add -s user to make Sai available in every project. The optional skill teaches Claude Code the task loop. More in Claude Code.
claude mcp add sai -e SAI_API_KEY=sapi_YOUR_KEY -- npx -y @simular-ai/sai-mcp

# Optional: install the Sai skill
npx -y @simular-ai/sai-mcp init-claude
Describe the personal agent you want
In the session the whole app came from a screenshot and one sentence: create a personal assistant app using the same UI like this, using Simular API for computer use, platform.simular.ai. Codex then read the platform docs and wrote the app on its own.
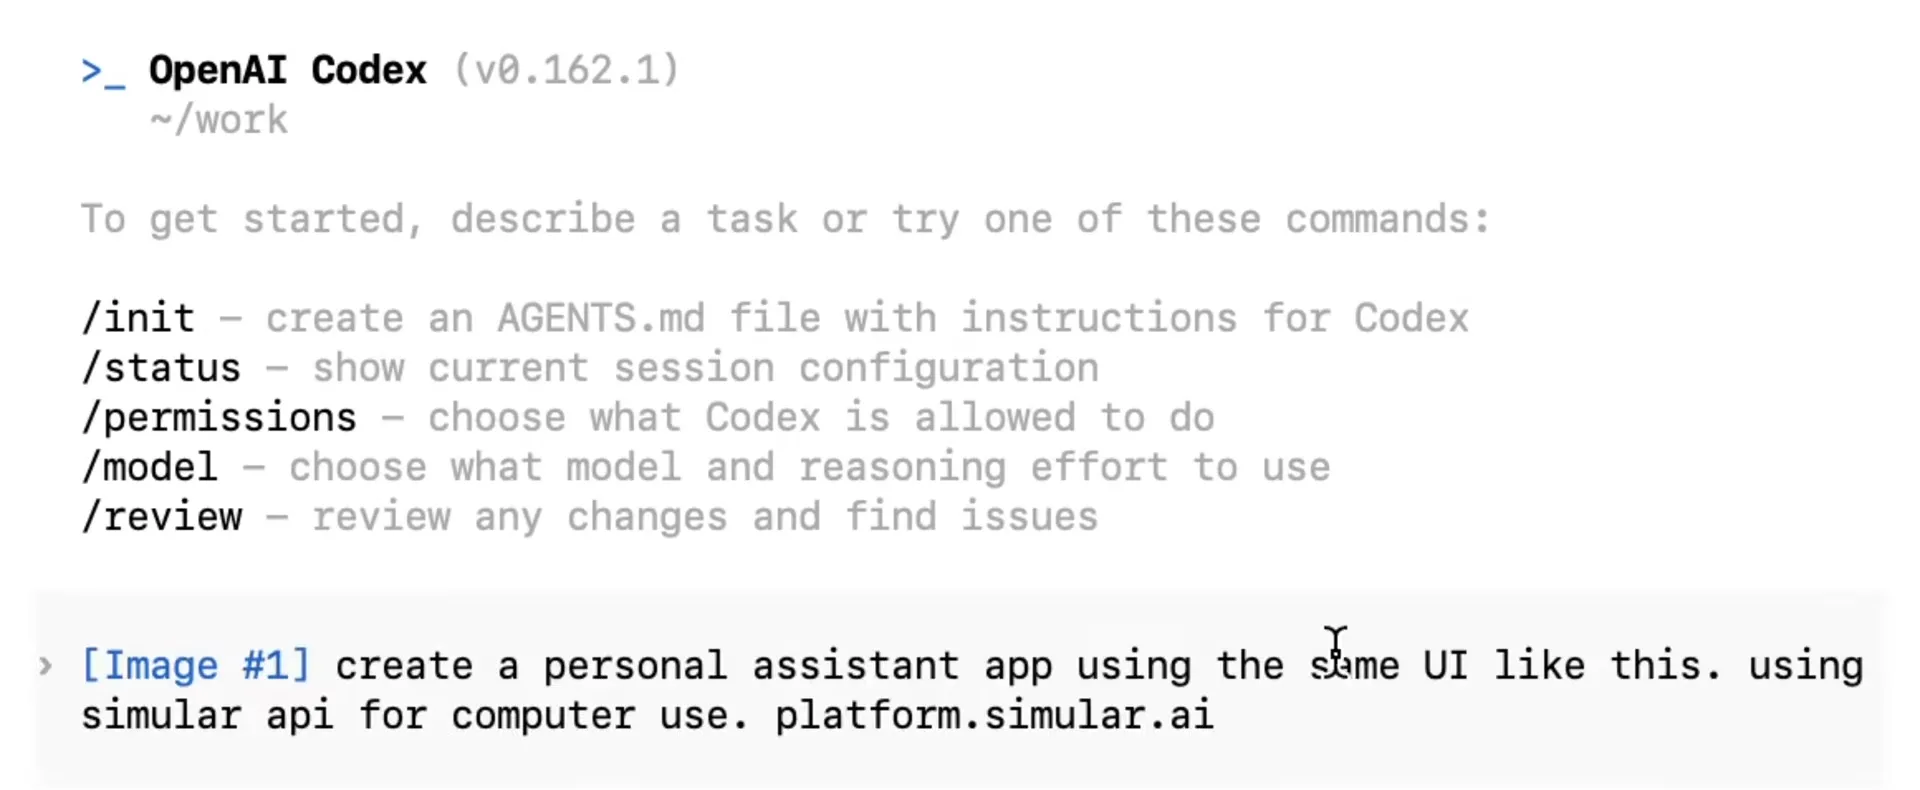
A more specific prompt gets you to a working first version with fewer corrections. Attach your reference screenshot and adapt this one:
Build a personal assistant web app called [name], using the attached screenshot
as the visual reference. Use the Sai API for anything that needs a computer, and
read https://platform.simular.ai/llms.txt before you start.

1. Chat: send each message to Sai with POST /v1/agents/message and wait: false,
   long-poll GET /v1/agents/events, and show text when status is idle.
2. Activity: show each data-progress event as a step in a side panel.
3. Approvals: when status is needs_approval, show the request. If isLinkOnly is
   true, open approvalUrl; otherwise offer Approve, Approve for this task and
   Deny, and send the answer to POST /v1/agents/approve.
4. Live screen: show the computer with POST /v1/agents/machines/:machineId/live
   and the Apache Guacamole JavaScript client, view only.
5. Security: keep SAI_API_KEY in a server-side environment variable. The browser
   talks only to my backend, never to api.simular.ai.
6. Run it locally, give me the URL, and post a status update every 30 seconds
   with anything still unverified.
In the session, the live screen was the piece the first attempt left out, and it took a second pass to add. Asking for it up front saves that round.
Add a live view of the computer
Watching the agent work is what makes a personal agent feel trustworthy. The Sai API exposes a view-only stream of the computer's screen. Request it from your server: the response carries a websocketUrl for the Apache Guacamole JavaScript client (Guacamole.WebSocketTunnel and Guacamole.Client), with a session token for that computer, so hand it only to your viewer.
curl -s -X POST "$SAI_API_URL/v1/agents/machines/$MACHINE_ID/live" \
  -H "Authorization: Bearer $SAI_API_KEY"
A 409 machine_not_running means the computer is asleep or starting; request the stream again while a task runs. A computer streams to one viewer at a time, so opening the same task in the Playground takes the screen over. See Machines and Watch Sai work.
Connect, run and test your personal agent
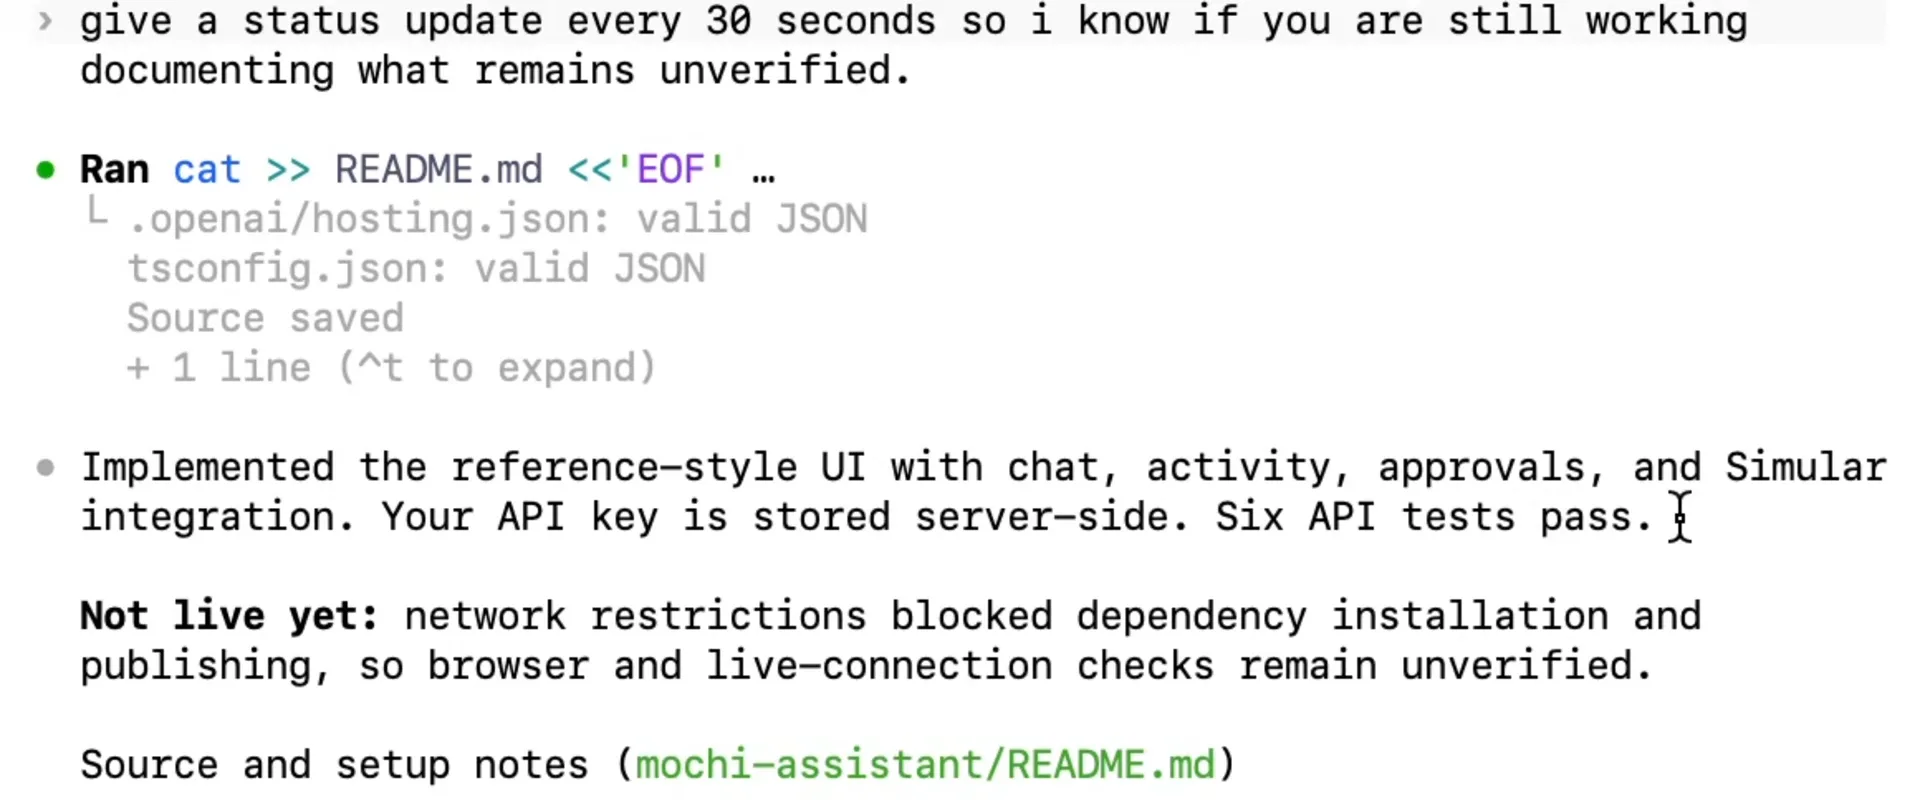
When your coding agent reports back, check what it could not verify. In the session, Codex finished the interface, the Sai integration and its API tests, but its sandbox blocked dependency installation, so the browser checks were still open. Claude Code picked up from there, launched the app locally and added the live view.
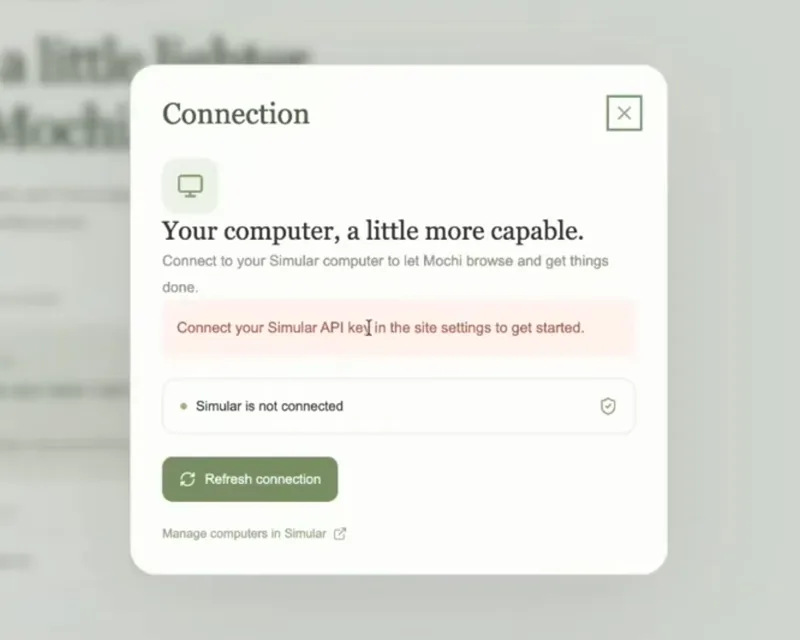
On first launch the app showed Simular is not connected until the key was configured on the server and the connection was refreshed. Once it showed Connected to Simular, the agent answered from the cloud computer.
Test it with real tasks
- A task that needs a signed-in browser: Go to my LinkedIn feed and tell me what's new today. This is the task from the session.
- A comparison: Check the price of [item] on three stores, including shipping, and tell me the cheapest option.
- A task with no API: Log in to [vendor portal] and list last month's invoices with their totals. When Sai needs your sign-in, it sends a link-only approval for you to complete in a browser. See Approvals.
Make your personal agent yours
The point of building your own is that you can keep changing it. Because the computer and the agent sit behind the API, you can rework the interface without touching the back end.
- Turn repeat work into replayable skills. Run a workflow once, then ask Sai in the same conversation:
Save this as a replayable skill named weekly_digest, with topic as a parameter.Next time, ask it to runweekly_digest. Sai replays the code and consults the model only where the screen matters; if the UI has changed, the agent takes over from that step. - Give it memory and preferences. Your app owns the conversation, so store what the user prefers and include what matters with each message. Each computer keeps one API conversation, and follow-up messages continue it. Call
POST /new-sessionwithchannel: "api"when a task should start clean. - Choose the model. The default,
auto, lets Sai pick. PassmodelonPOST /messageto switch;GET /v1/agents/modelslists what your plan allows. - Add computers. Paid accounts can create Windows or Linux computers in the Playground and pass
machineIdto send each kind of work to its own machine. - Add manual control later. The first version only needs to show the screen. The hosts suggested letting the user take over the computer by hand as a next layer.
Troubleshooting
Watch the full build session
See the whole build, including the fixes along the way, in Build your own personal agent within 10 minutes using Simular API on Simular's YouTube channel. For every endpoint and event type, see the Sai API docs.
Frequently asked questions
How long does it take to build a personal AI agent with the Sai API?
About ten minutes of build time for a first version, as in Simular's build session: a few minutes to create a key and add the Sai MCP server, then a coding agent such as Codex writes the app from a prompt and a reference screenshot. Expect another pass to fix what the first attempt misses.
Do I need my own model API key to use the Sai API?
No. The model and the computer are included in your Sai plan, so there are no model keys to bring and nothing to configure.
Is the Sai API free to try?
Yes. A free account includes one pooled Windows cloud computer, a daily time limit on it and a daily credit grant. The exact daily figures are shown in the portal, and free accounts verify a phone number before their first key.
Can my personal AI agent use my own accounts?
Yes, through approvals. Sign-ins, site passwords and phone checks arrive as link-only approvals that a person completes in a browser. Commands and choices can be answered over the API with POST /v1/agents/approve.
Which coding agents work with the Sai MCP server?
Claude Code, Codex and Cursor, plus any client that runs stdio MCP servers. Add @simular-ai/sai-mcp with your SAI_API_KEY; Node.js 22.12 or newer is required.
Where should I store the Sai API key?
In a server-side environment variable. The browser should call your own backend, which calls the Sai API. Never put the key in front-end code or a committed config file, because anyone who has it can run tasks on your account.
Can I watch what my personal agent is doing?
Yes. POST /v1/agents/machines/{machineId}/live returns a view-only screen stream you can embed, coding agents post a watch_url for each task, and the Playground shows any running task.
Does the agent take over my own computer while it works?
No. Tasks run on Sai's cloud computer, so you can keep working, or close your laptop, while the agent does the job.
Build yours
The free plan includes a cloud computer. Get a key and follow the steps above, or start from the quick start.